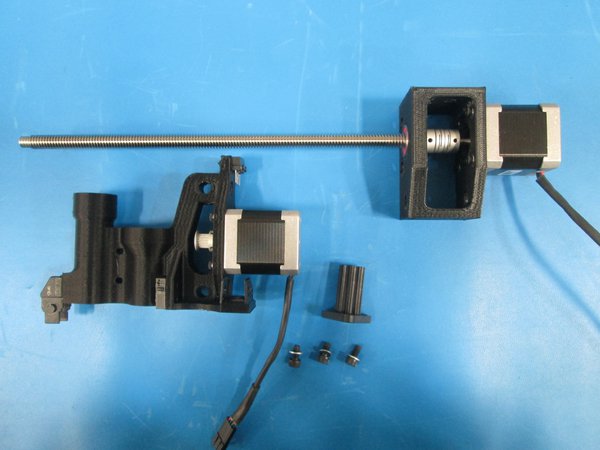
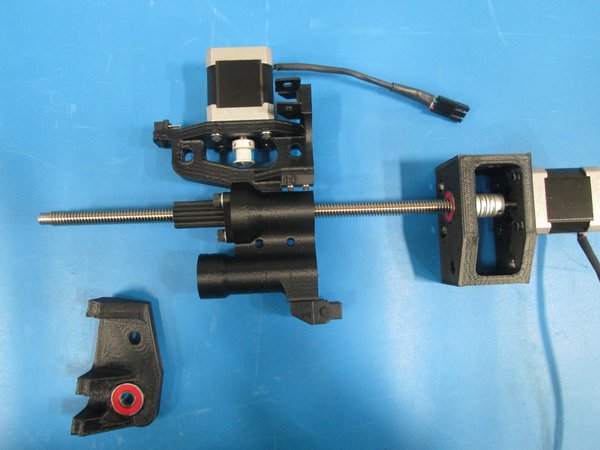
Mini X End Motor Z Drive Assembly Workflow
Components Required
- X End motor assembly
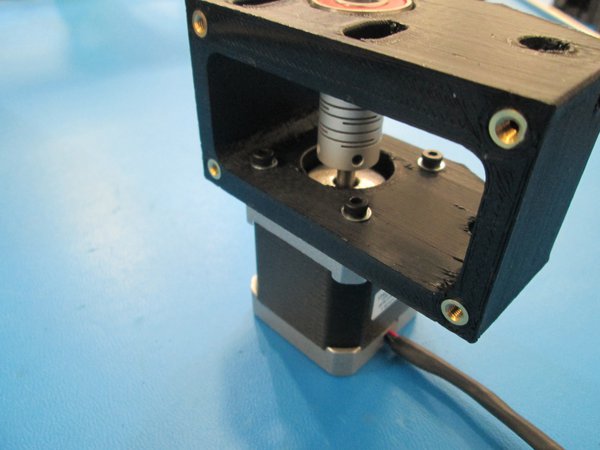
- Z Lower mount
- Z Upper mount
- X/Extruder Harness
- 220mm length Motor
- Coupler
- Drive Rod
- Smooth Rod
- Drive Nut
- M5x10 SHCS
- M5 Washer
- M3x12 SHCS
- M3 Washer
- M3x6 Set Screw
- Zip Ties
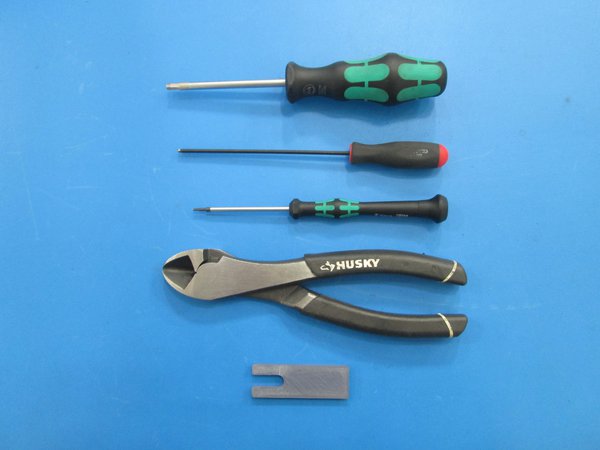
Tools Required
- 1.5 mm Allen driver
- 2.5 mm Allen driver
- 4 mm Allen driver
- Cutters
- 4.5 mm fixture
- Are all the tools and components gathered?
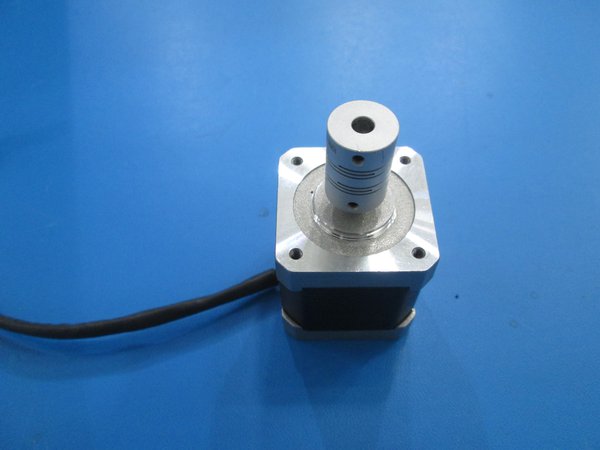
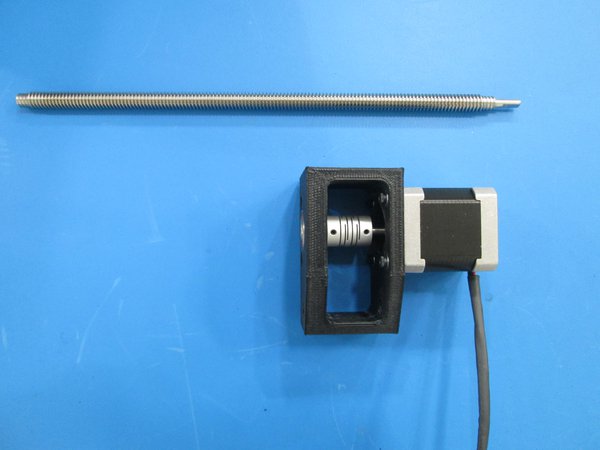
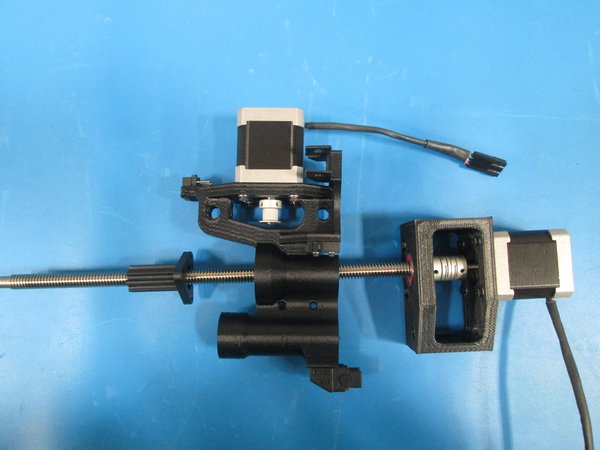
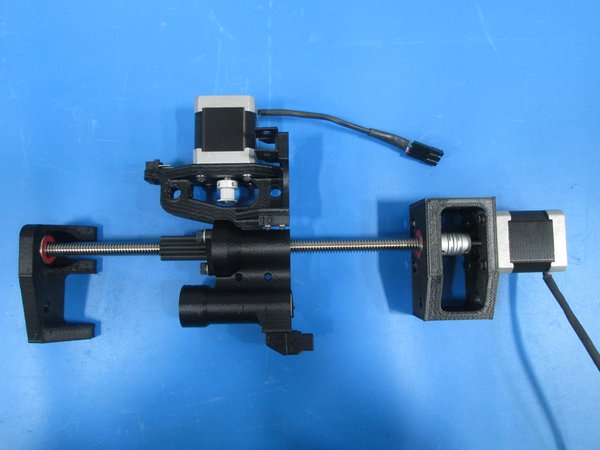
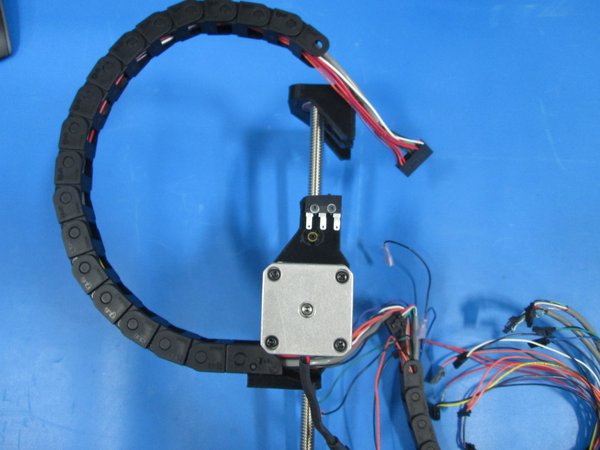
Place the coupler onto the motor shaft but don't tighten the set screws yet.
Fasten the motor to the Z lower left mount using 4 M3x12 SHCS and M3 washers. Note the orientation of the motor wires.
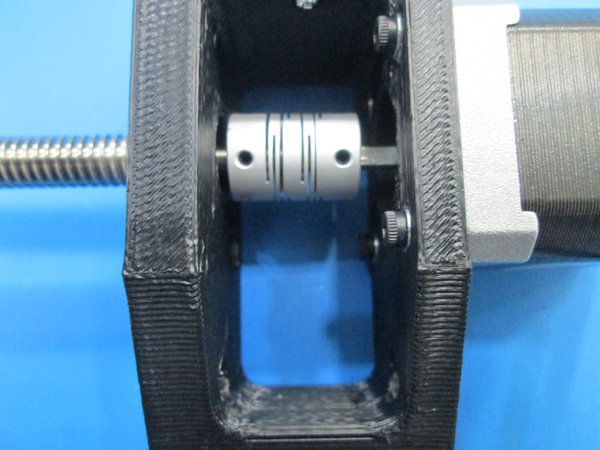
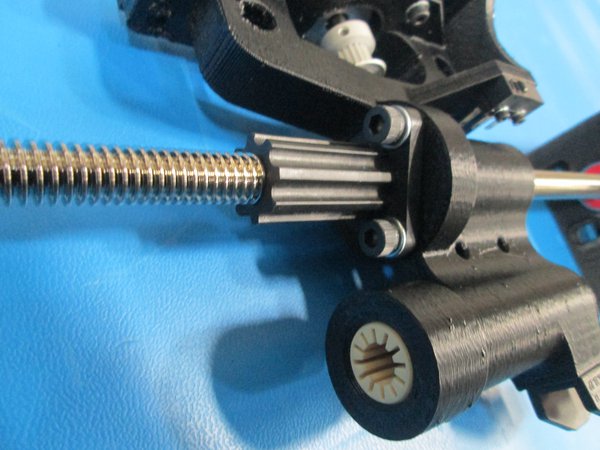
Use the 4.5 mm fixture to set the height of the coupler inside the Z lower left mount.
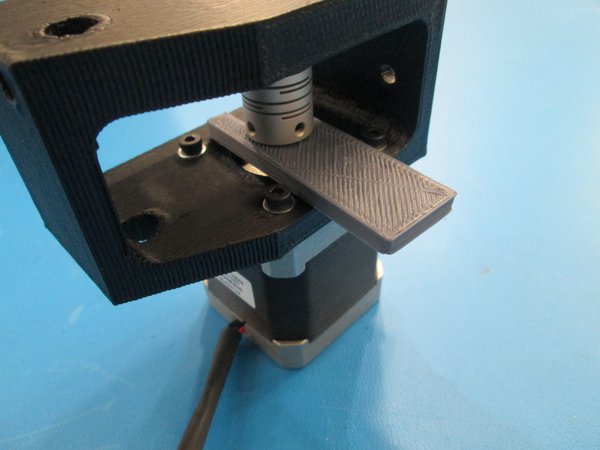
Now you can tighten the bottom set screws on the coupler, but make sure one of the set screws is aligned with the flat on the motor shaft.
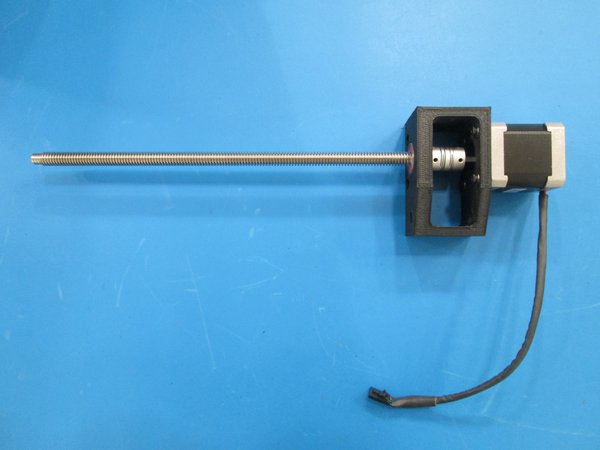
Slide the drive rod in through the bearing and into the coupler making sure it is seated all the way into the bearing. Tighten the set screws making sure one of them is on the flat of the motor shaft.
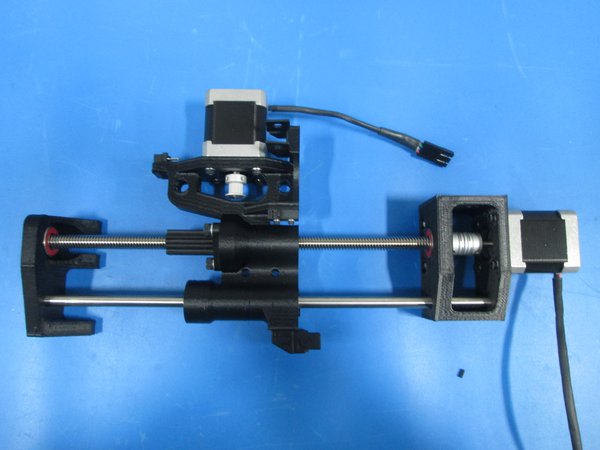
Spin the drive rod and make sure that the bearing rotates smoothly.
- Are the set screws aligned with the flats?
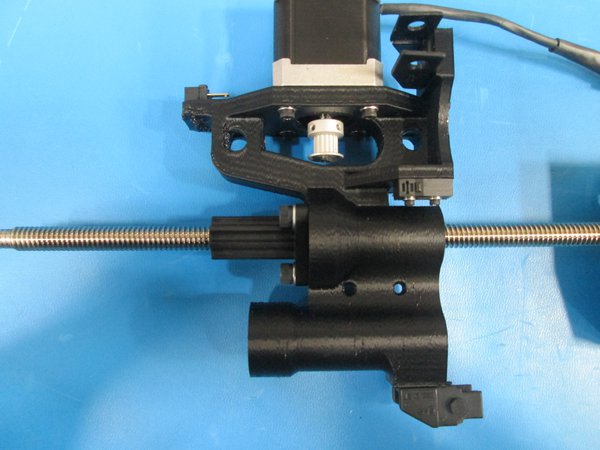
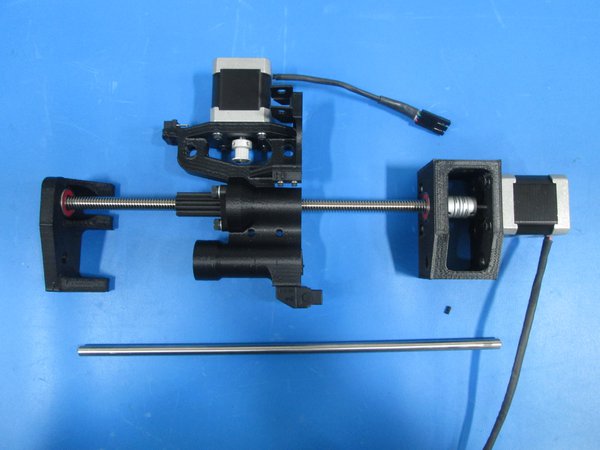
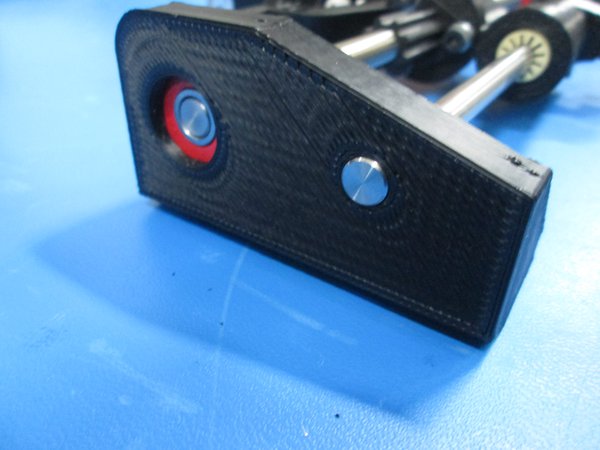
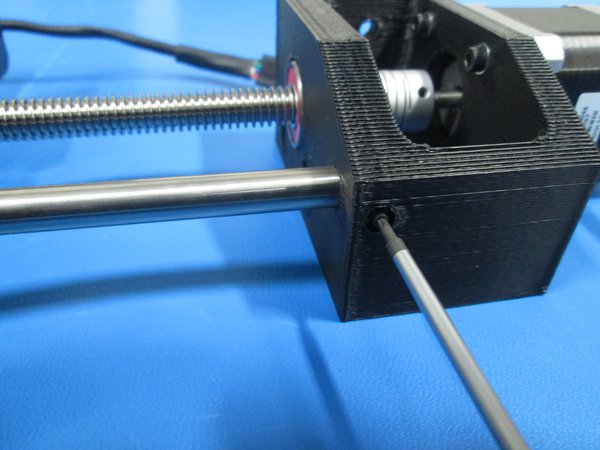
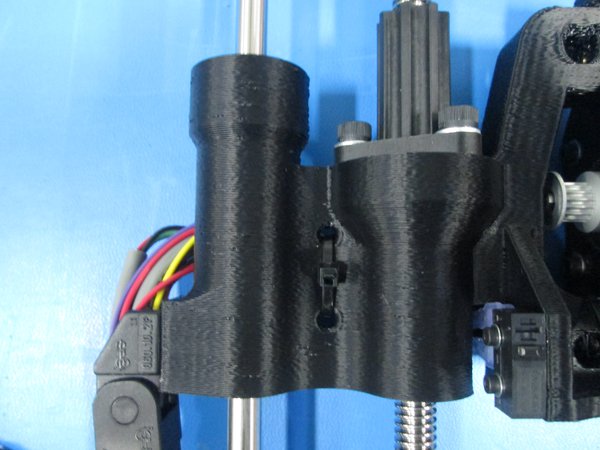
Take the Z upper left mount and slide the drive rod into the bearing, make sure it is seated all the way.
Slide the smooth rod through the Z upper left mount making the end of the rod flush with the upper mount.
Secure the smooth rod with a M3x6 set screw as shown.
Spin the drive rod and make sure that the bearing rotates smoothly.
- Is the smooth rod secure and flush with upper mount?
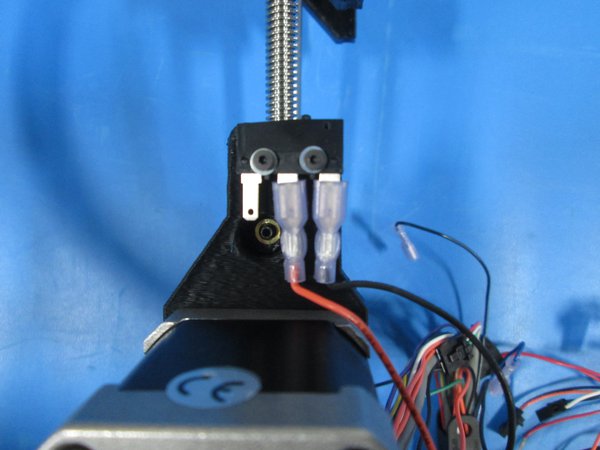
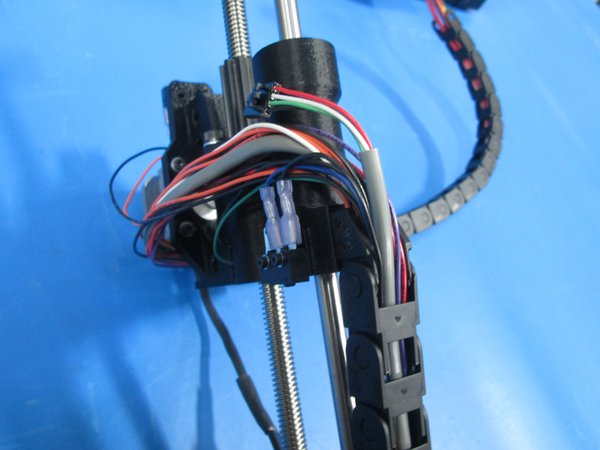
Attach the X/Extruder harness to the X end motor assembly by connecting the cable guides to the male/female cable guide connectors.
First attach the longer cable guide to the female cable guide connector as shown, note orientation.
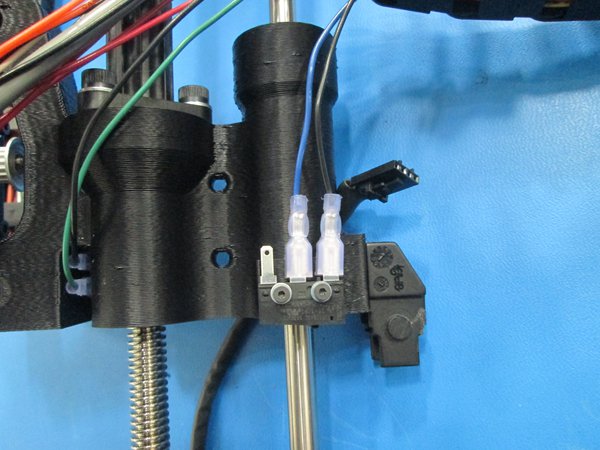
Connect the paired orange and black wires to the limit switch above the motor as shown.
Connect the paired green and black wires to the limit switch in the middle of the x end assembly as shown.
Connect the paired blue and black wires to the limit switch nest to the male cable guide connector as shown.
Attach the second shorter cable guide to the male cable guide connector as shown.
- Are the switches wired correctly?
- Is the cable guide oriented correctly?
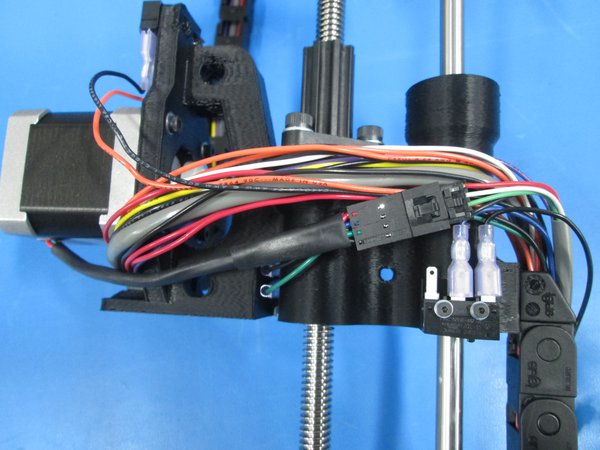
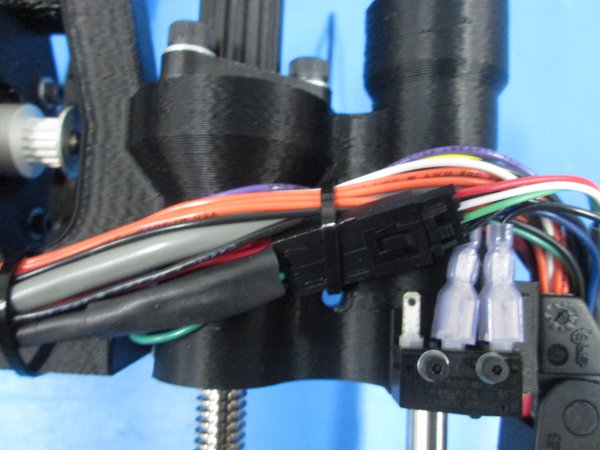

Connect the motor wire as shown.
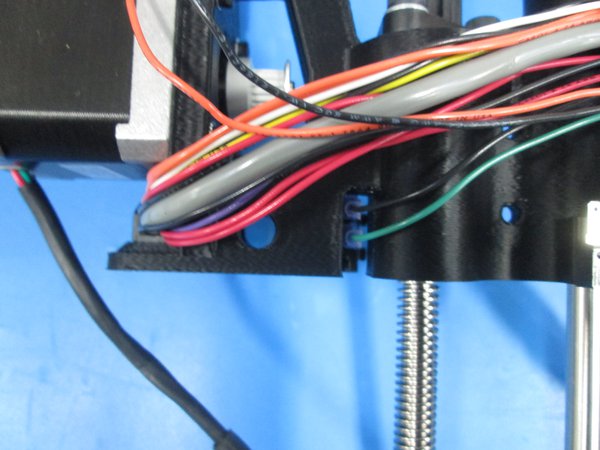
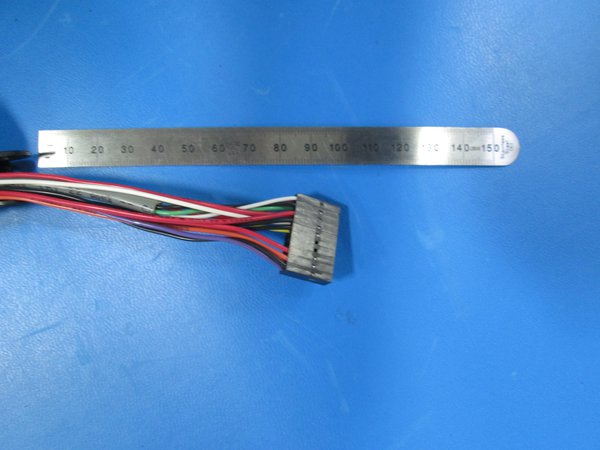
Next, make sure there is 100 mm of wire coming out of the cable guide on the end with the 20 POS connector.
Pull the extra slack out the other end of the cable guide and zip tie in the two locations.
Make sure the ratchet of the zip tie is to the inside of the assembly.
Leave bottom two coupler screws loose, leave motor screws loose and leave Z-nut screws loose.
Clip the zip ties.
Make sure the wires are nicely tucked and neat against the assembly.
- Are the wires nice, neat and secure?
- Complete